10. Underwater#
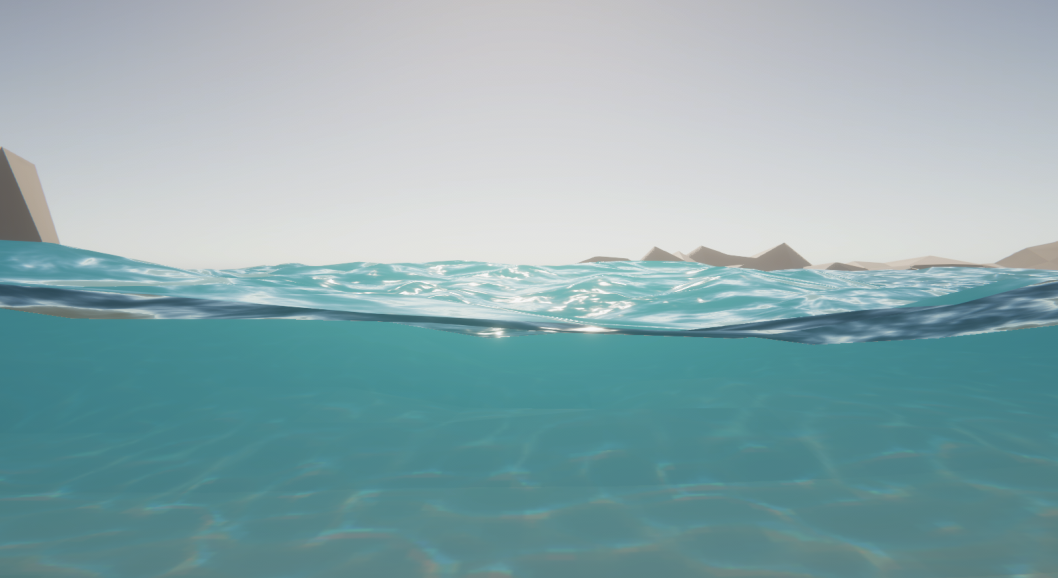
Crest supports seamless transitions above/below water. It can also have a meniscus which renders a subtle line at the intersection between the camera lens and the water to visually help the transition. This is demonstrated in the main.unity scene in the example content. The ocean in this scene uses the material Ocean-Underwater.mat which enables rendering the underside of the surface.
Out-scattering is provided as an example script which reduces environmental lighting with depth underwater. See the UnderwaterEnvironmentalLighting component.
For performance reasons, the underwater effect is disabled if the viewpoint is not underwater. Only the camera rendering the ocean surface will be used.
Tip
Use opaque or alpha test materials for underwater surfaces. Transparent materials may not render correctly underwater. See Transparent Object Underwater for possible workarounds.
10.1. Underwater Renderer#
Note
You can enable/disable rendering in the scene view by toggling fog in the scene view control bar.
The Underwater Renderer component executes a fullscreen underwater effect between the transparent pass and post-processing pass.
It is similar to a post-processing effect, but has the benefit of allowing other renderers to execute after it and still receive post-processing. An example is to add underwater fog correctly to semi-transparent objects.
This is the current underwater solution used for the example scenes, and is the simplest to setup.
10.1.1. Setup#
Configure the ocean material for underwater rendering. In the Underwater section of the material params, ensure Enabled is turned on and Cull Mode is set to Off so that the underside of the ocean surface renders. See Ocean-Underwater.mat for an example.
Configure the ocean material for underwater rendering. Ensure that Double-Sided is enabled under Surface Options on the ocean material so that the underside of the ocean surface renders. See Ocean-Underwater.mat for an example.
Configure the ocean material for underwater rendering. In the Underwater section of the material params, ensure Enabled is turned on and Cull Mode is set to Off so that the underside of the ocean surface renders. See Ocean-Underwater.mat for an example.
Add the Underwater Renderer component to your camera game object.
10.1.2. Parameters#
Mode: How the underwater effect (and ocean surface) is rendered:
Full-Screen: Full screen effect.
Portal: Renders the underwater effect and ocean surface from the geometry’s front-face and behind it.
Volume: Renders the underwater effect and ocean surface from the geometry’s front-face to its back-face.
Volume (Fly-Through): Renders the underwater effect and ocean surface from the geometry’s front-face to its back-face - even from within the volume.
Depth Fog Density Factor: Reduces the underwater depth fog density by a factor. Useful to reduce the intensity of the fog independently from the ocean surface.
10.1.3. Detecting Above or Below Water#
The OceanRenderer component has the ViewerHeightAboveWater property which can be accessed with OceanRenderer.Instance.ViewerHeightAboveWater.
It will return the signed height from the ocean surface of the camera rendering the ocean.
Internally this uses the SampleHeightHelper class which can be found in SamplingHelpers.cs.
There is also the OceanSampleHeightEvents example component (requires example content to be imported) which uses UnityEvents to provide a scriptless approach to triggering changes. Simply attach it to a game object, and it will invoke a UnityEvent when the attached game object is above or below the ocean surface once per state change. A common use case is to use it to trigger different audio when above or below the surface.
10.1.4. Portals & Volumes#
The underwater effect can be rendered from a provided mesh which will effectively become a portal (2D) or volume (3D). Change the Mode property to one of your choosing and set the Volume Geometry to a Mesh Filter (it will use its transform). This feature also clips the ocean surface to match. A common use case would be a window on a boat.
10.1.5. Underwater Shader API#
The underwater effect uses opaque depth and thus will not render correctly for transparent objects. Too much fog will be applied as it is as if the transparent object does not exist.
The most effective approach is to render the transparent objects after the underwater effect and apply the underwater effect as part of the shader for the transparent object (basically the same way Unity fog is applied).
The Shader API needs to be enabled on the Underwater Renderer (located under the Shader API heading).
Once the Shader API is enabled, the underwater effect will be rendered before the transparent pass instead of after it, and the global shader properties will be populated. This means that when a transparent object is rendered, it will already have underwater fog behind it. It is then just a matter of applying the underwater fog to the transparent object.
Example
Furthermore, you can view the shader in action in the Transparent Object Underwater example in the Examples scene.
Setting up a shader can be broken down to the following:
- Including our includes file:Crest/Crest/Shaders/Underwater/UnderwaterEffectIncludes.hlsl
Adding optional keywords (see example shader)
Use the CrestApplyUnderwaterFog function to apply the fog to the final color
Here is the important part from ExampleUnderwaterTransparentSurfaceShader.shader:
float2 positionNDC = IN.screenPos.xy / IN.screenPos.w;
float deviceDepth = IN.screenPos.z / IN.screenPos.w;

if (!CrestApplyUnderwaterFog(positionNDC, IN.worldPos, deviceDepth, _FogMultiplier, color.rgb))
{
   UNITY_APPLY_FOG(IN.fogCoord, color);
}
Once the Shader API is enabled, any transparent object in the correct layer and using a modified shader (more on that later) will have its above water pixels rendered in the transparent pass and below water pixels rendered after the underwater pass.
In a perfect world, we would render the underwater pass before the transparent pass, and then apply the underwater effect to the final color of each transparent object using the CrestNodeApplyUnderWaterFog node. But Shader Graph does not allow modification of the final color.
The workaround is in the example node CrestNodeApplyUnderwaterFogExample. This node uses the CrestNodeApplyUnderWaterFog node and does a few things to get around this problem:
Apply the underwater effect only to the Emission input to bypass Unity’s lighting
Reduce the alpha and the color by distance from the camera
The end result is that the effect is inconsistent with the underwater pass. Despite that we believe it is a decent enough approximation until Unity improves this area.
Example
Furthermore, you can view the shader in action in the Transparent Object Underwater example in the Examples scene.
Setting up a graph can be broken down to the following:
Add optional keywords (see example graph)
Add the CrestNodeApplyUnderwaterFogExample node
Connect Fogged Color (and alpha) and Fogged Emission outputs to the Master Stack
Multiply Factor output with any properties except Ambient Occlusion
Enable Alpha Clipping
For best results using the Lit Shader graph:
Keep Preserve Specular Lighting disabled as this will cause the object to be visible from any distance
Do not enable Receive Fog as this will write over the emission and thus underwater fog
Be mindful of what features on the Shader Graph you enable as it might affect the underwater fog
Once the Shader API is enabled, any transparent object in the correct layer and using a modified shader (more on that later) will have its above water pixels rendered in the transparent pass and below water pixels rendered after the underwater pass.
In a perfect world, we would render the underwater pass before the transparent pass, and then apply the underwater effect to the final color of each transparent object using the CrestNodeApplyUnderWaterFog node. But Shader Graph does not allow modification of the final color.
The workaround is in the example node CrestNodeApplyUnderwaterFogExample. This node uses the CrestNodeApplyUnderWaterFog node and does a few things to get around this problem:
Apply the underwater effect only to the Emission input to bypass Unity’s lighting
Reduce the alpha and the color by distance from the camera
The end result is that the effect is inconsistent with the underwater pass. Despite that we believe it is a decent enough approximation until Unity improves this area.
Example
Furthermore, you can view the shader in action in the Transparent Object Underwater example in the Examples scene.
Setting up a graph can be broken down to the following:
Add optional keywords (see example graph)
Add the CrestNodeApplyUnderwaterFogExample node
Connect Fogged Color (and alpha) and Fogged Emission outputs to the Master Stack
Multiply Factor output with any properties except Ambient Occlusion
Enable Alpha Clipping
10.2. Underwater Curtain BIRP URP#
Deprecated
The Underwater Curtain will be removed in a future Crest version. It has been replaced by the Underwater Renderer.
10.2.1. Setup#
Configure the ocean material for underwater rendering. In the Underwater section of the material params, ensure Enabled is turned on and Cull Mode is set to Off so that the underside of the ocean surface renders. See Ocean-Underwater.mat for an example.
Place UnderWaterCurtainGeom and UnderWaterMeniscus prefabs under the camera (with cleared transform).
10.3. Underwater Post-Process HDRP#
Deprecated
The Underwater Post-Process will be removed in a future Crest version. It has been replaced by the Underwater Renderer.
Renders the underwater effect at the beginning of the post-processing stack.
10.3.1. Setup#
Steps to set up underwater:
Ensure Crest is properly set up and working before proceeding.
Enable Custom Pass on the HDRP Asset and ensure that Custom pass on the camera’s Frame Settings is not disabled.
Add the custom post-process (Crest.UnderwaterPostProcessHDRP) to the Before TAA list. See the Custom Post Process documentation.
Add the Crest/Underwater Volume Component.
Please learn how to use the Volume Framework before proceeding as covering this is beyond the scope of our documentation:
Fig. 10.1 Adding Volumes to HDRP (Tutorial)#
Configure the ocean material for underwater rendering. Ensure that Double-Sided is enabled under Surface Options on the ocean material so that the underside of the ocean surface renders. See Ocean-Underwater.mat for an example.