8. Underwater
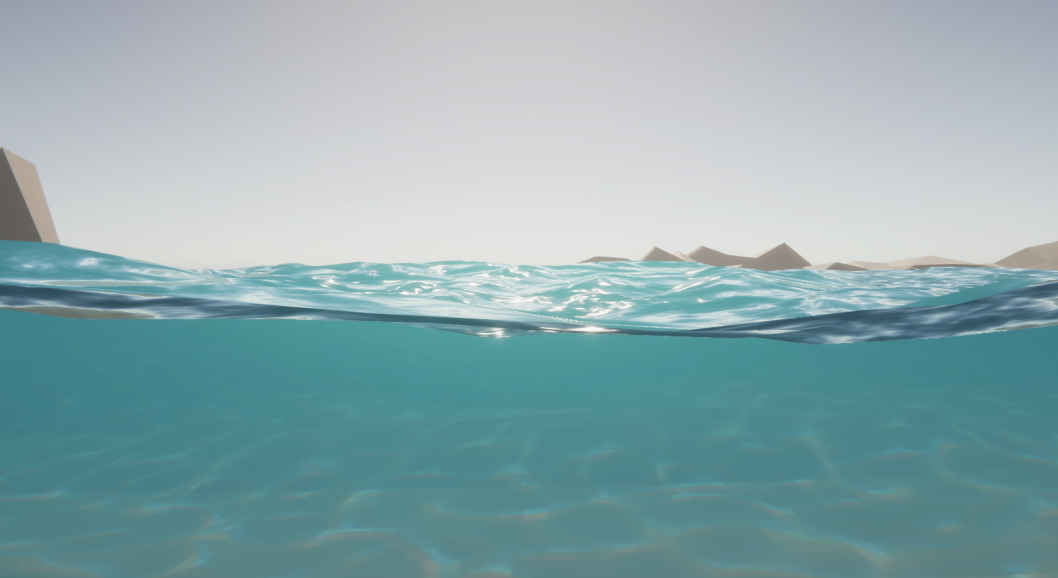
Crest supports seamless transitions above/below water. It can also have a meniscus which renders a subtle line at the intersection between the camera lens and the water to visually help the transition. This is demonstrated in the main.unity scene in the example content. The ocean in this scene uses the material Ocean-Underwater.mat which enables rendering the underside of the surface.
Out-scattering is provided as an example script which reduces environmental lighting with depth underwater. See the UnderwaterEnvironmentalLighting component.
For performance reasons, the underwater effect is disabled if the viewpoint is not underwater. Only the camera rendering the ocean surface will be used.
Tip
Use opaque or alpha test materials for underwater surfaces. Transparent materials may not render correctly underwater. See Transparent Object Underwater for possible workarounds.
Bug
Underwater effects do not support orthographic projection.
8.1. Underwater Renderer
The Underwater Renderer component executes a fullscreen underwater effect between the transparent pass and post-processing pass.
It is similar to a post-processing effect, but has the benefit of allowing other renderers to execute after it and still receive post-processing. An example is to add underwater fog correctly to semi-transparent objects.
This is the current underwater solution used for the example scenes, and is the simplest to setup.
8.1.1. Setup
Configure the ocean material for underwater rendering. In the Underwater section of the material params, ensure Enabled is turned on and Cull Mode is set to Off so that the underside of the ocean surface renders. See Ocean-Underwater.mat for an example.
Configure the ocean material for underwater rendering. Ensure that Double-Sided is enabled under Surface Options on the ocean material so that the underside of the ocean surface renders. See Ocean-Underwater.mat for an example.
Configure the ocean material for underwater rendering. In the Underwater section of the material params, ensure Enabled is turned on and Cull Mode is set to Off so that the underside of the ocean surface renders. See Ocean-Underwater.mat for an example.
Add the Underwater Renderer component to your camera game object.
8.1.2. Detecting Above or Below Water
The OceanRenderer component has the ViewerHeightAboveWater property which can be accessed with OceanRenderer.Instance.ViewerHeightAboveWater.
It will return the signed height from the ocean surface of the camera rendering the ocean.
Internally this uses the SampleHeightHelper class which can be found in SamplingHelpers.cs.
There is also the OceanSampleHeightEvents example component (requires example content to be imported) which uses UnityEvents to provide a scriptless approach to triggering changes. Simply attach it to a game object, and it will invoke a UnityEvent when the attached game object is above or below the ocean surface once per state change. A common use case is to use it to trigger different audio when above or below the surface.
8.2. Underwater Curtain BIRP URP
Deprecated
The Underwater Curtain will be removed in a future Crest version. It has been replaced by the Underwater Renderer.
8.2.1. Setup
Configure the ocean material for underwater rendering. In the Underwater section of the material params, ensure Enabled is turned on and Cull Mode is set to Off so that the underside of the ocean surface renders. See Ocean-Underwater.mat for an example.
Place UnderWaterCurtainGeom and UnderWaterMeniscus prefabs under the camera (with cleared transform).
8.3. Underwater Post-Process HDRP
Deprecated
The Underwater Post-Process will be removed in a future Crest version. It has been replaced by the Underwater Renderer.
Renders the underwater effect at the beginning of the post-processing stack.
8.3.1. Setup
Steps to set up underwater:
Ensure Crest is properly set up and working before proceeding.
Enable Custom Pass on the HDRP Asset and ensure that Custom pass on the camera’s Frame Settings is not disabled.
Add the custom post-process (Crest.UnderwaterPostProcessHDRP) to the Before TAA list. See the Custom Post Process documentation.
Add the Crest/Underwater Volume Component.
Please learn how to use the Volume Framework before proceeding as covering this is beyond the scope of our documentation:
Fig. 8.1 Adding Volumes to HDRP (Tutorial)
Configure the ocean material for underwater rendering. Ensure that Double-Sided is enabled under Surface Options on the ocean material so that the underside of the ocean surface renders. See Ocean-Underwater.mat for an example.